Every lab layout is built from three bench types: wall benches along the perimeter, peninsulas that project from a wall, and islands that stand free in the room. Which ones you use, and where, decides how people move, how services are routed and how easily the room can change.
Wall benches
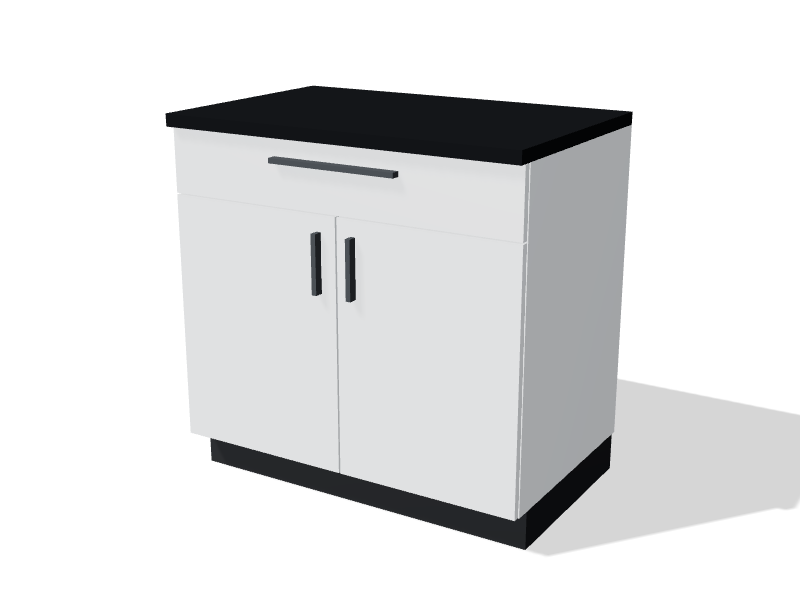
Wall benches run along the room perimeter. They are single-sided, usually about 750 mm (30 in) deep, with users working facing the wall.
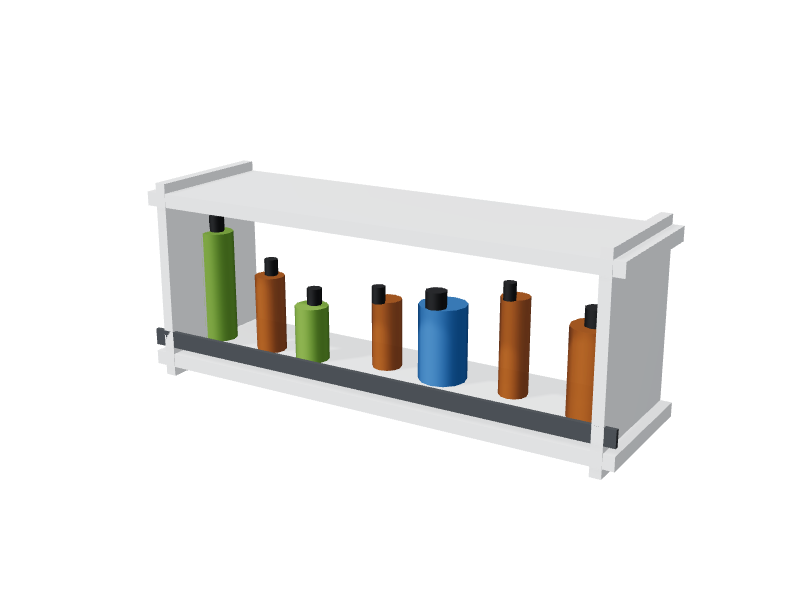
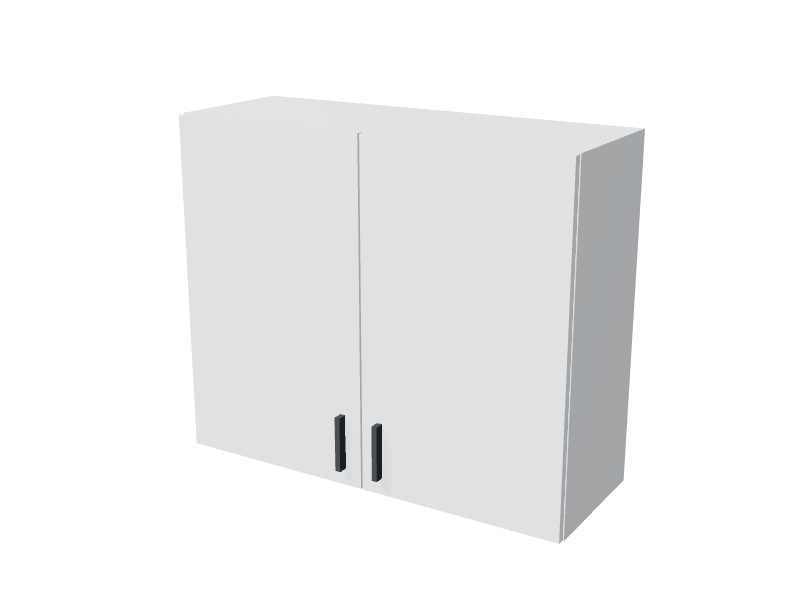
They are the natural home for anything that needs a wall: sinks close to drain stacks, fume hoods close to exhaust risers, tall equipment, and flammable or corrosive storage cabinets. Services run inside the wall or in a chase behind the cabinets, so they are easy to reach for maintenance. Wall cabinets or reagent shelving above the bench make good use of the vertical space.
Their limits are length and daylight. A room only has so much perimeter, and exterior walls with windows are often better used for write-up desks or left clear for light.
Peninsulas and islands
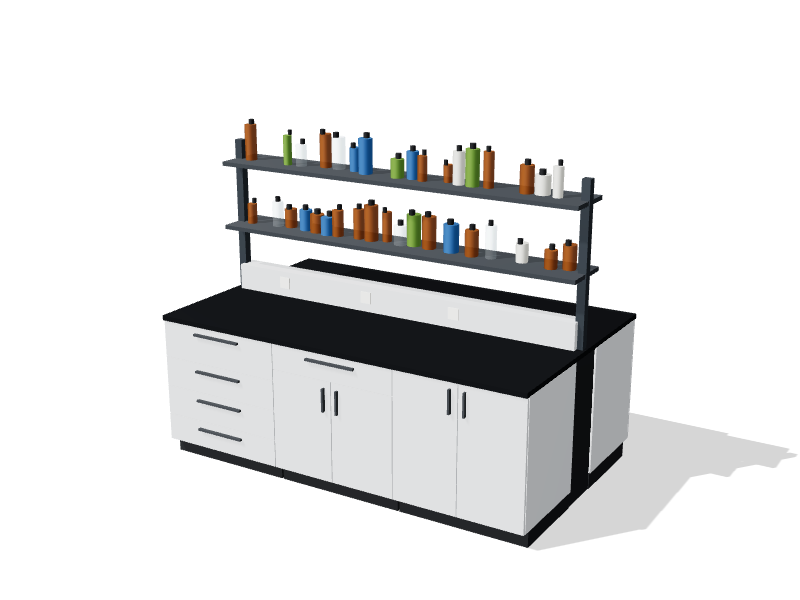
A double-sided bench is two work faces back to back, about 1500 mm (60 in) deep overall, often with a service spine or upright down the centre. The island bench with reagent shelving is a typical example.
A peninsula has one end against a wall. It takes its services from that wall, which keeps routing simple, and it divides the room into bays. Each bay becomes a natural work area for one team or one process.
An island stands free with an aisle all round. Services must come from the floor, through cored or trenched slab, or from above, through ceiling drops or an overhead service carrier. That costs more and is harder to change in an existing building, but islands give the best circulation: users can walk round either end, and nobody works at the closed end of a bay.
The centre of a double-sided bench usually carries a service chase for pipes and wiring, plus uprights for shelving. Settle its width early, because it adds directly to the overall bench depth and therefore to the room width you need.
Comparing the three
| Factor | Wall bench | Peninsula | Island |
|---|---|---|---|
| Service routing | Wall or rear chase; simple | From the wall end; simple | Floor or ceiling; more complex |
| Circulation | Along one side only | Bays with a closed end | Open on all sides |
| Supervision | Users face the wall | Bays can hide users | Good sightlines with low shelving |
| Typical uses | Sinks, hoods, tall equipment, storage | Research bays, team work areas | Teaching labs, shared benches, open labs |
Choosing in practice
Start with room width. Two wall benches of 750 mm with a 1500 mm aisle between them need about 3.0 m (10 ft). Adding a 1500 mm island in the middle, with 1500 mm aisles on either side, raises the minimum to about 6.0 m (20 ft), before allowing for a service spine or wider aisles. Rooms between those widths usually work best with wall benches and short peninsulas. The aisle widths guide explains where 1500 mm comes from and when to go wider.
Research labs often use peninsulas running from a service wall, with write-up space at the window end and hoods on the opposite wall. Keep bays short, and never place a fume hood or a high-hazard process at the closed end of a bay, where it sits between users and the way out.
Teaching labs often use islands so students face each other and the instructor can see every work position. Low or no overhead shelving on teaching islands preserves those sightlines and lets the instructor speak to the whole room.
Open-plan research floors often combine both: islands or peninsulas on a regular grid for flexibility, with wall benches reserved for sinks, hoods and large equipment.
Island length deserves its own check. A long island forces people to walk the full length to reach the other side, and it hides whatever happens at the far end. Breaking a long run with a cross-aisle shortens routes to the exit and to the emergency shower. Keep island ends open and free of tall storage, which blocks both sightlines and the walking route around the end.
Think about what each face of an island will carry. Two teams working back to back share a centre spine, so a vibrating centrifuge or a stirrer on one side can reach a balance on the other. Heavy, heat-producing or vibrating equipment usually sits better on a wall bench or on its own table.
Planning tips
- Place sinks and hoods on walls first; they depend on drains and exhaust that are hard to move.
- Decide how services reach each island before committing to islands in an existing building.
- Include the service spine in the island depth when checking room width.
- Check egress from every work position, and avoid long dead-end bays.
- Keep overhead shelving low wherever supervision matters.
- Test arrangements in the lab planner before committing to one.