Services are the utilities a researcher plugs into at the bench: water, gases, vacuum, purified water, power and data. The fixtures that deliver them are small items on a large drawing set, yet they decide whether people can actually run their experiments where the layout puts them. They also carry real hazards if backflow, gas shut-off and electrical protection are not thought through.
The common services
| Service | Typical fixture | Planning notes |
|---|---|---|
| Hot and cold water | Gooseneck faucet at a sink | Backflow protection on any outlet that can take a hose |
| Purified water (RO, DI) | Faucet with plastic wetted parts | Fed from a central loop or a point-of-use system |
| Natural gas | Gas cock, often with a needle valve | Manual shut-off valve for the room, easy to reach |
| Air, vacuum, nitrogen | Cocks with serrated hose tips or quick connects | Traps and filters protect the vacuum system |
| Specialty and high-purity gases | Stainless valves with compression fittings | Regulators and cylinder or manifold supply |
Power and data are services too. Lab instruments need more circuits than offices, dedicated circuits for heat-producing equipment, and hard-wired network connections for instruments that log data.
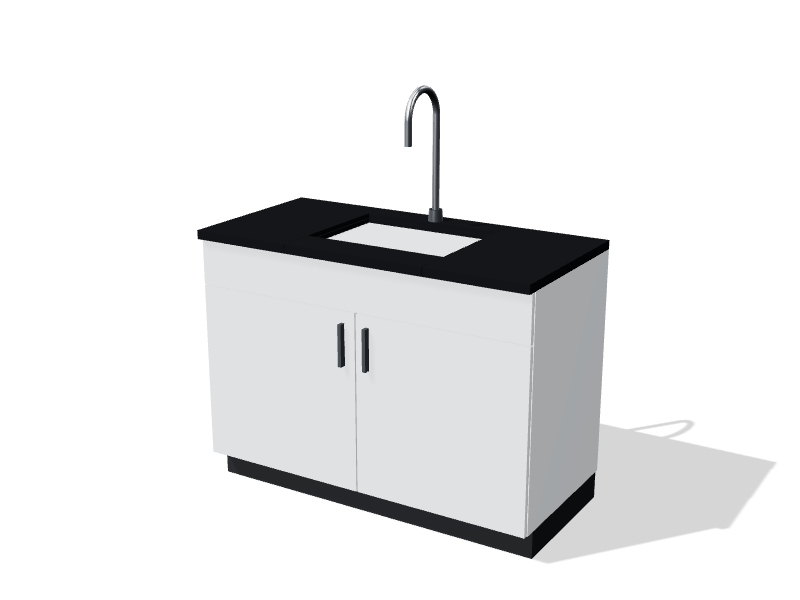
A gooseneck faucet gives clearance to fill tall glassware. For purified water, the wetted parts should be plastic such as polypropylene or PVDF, because metal fittings can leach ions into high-purity water. Gas and air fixtures are commonly chrome-plated brass with a chemical-resistant coating.
Where fixtures mount
There are four common mounting approaches, and many labs use more than one:
- Deck-mounted on the worktop. Simple and close to the user, but every fixture needs a hole through the worktop, and spills collect around the base.
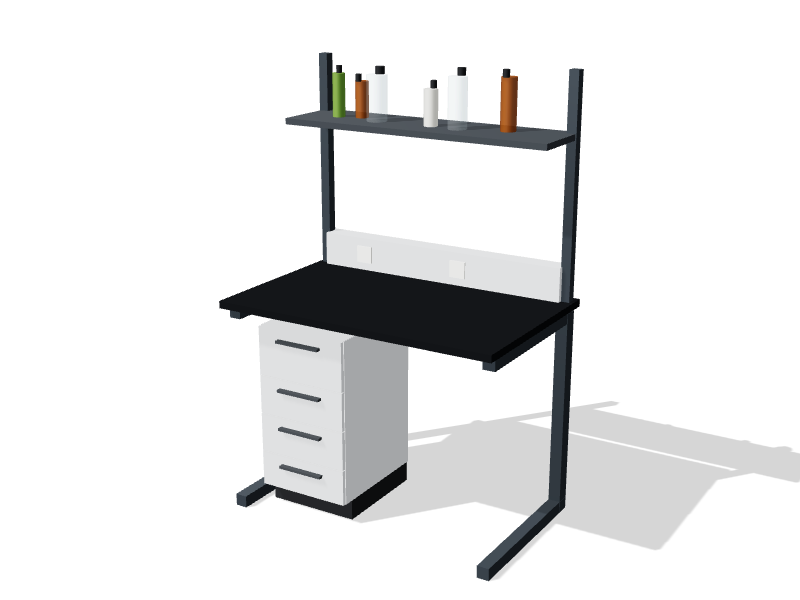
- Panel-mounted on the uprights of a reagent shelf or on a service chase. This keeps the worktop clear and hides piping behind removable panels, so maintenance can reach valves without dismantling the bench.
- Overhead service carriers or ceiling panels with drop-down hoses and cords. These suit adaptable labs, where benches move and services need to follow them.
- On fume hoods. Remote controls sit on the outside of the hood so the user can adjust flow without reaching in, with outlets inside. The guide to fume hood services and fixtures covers the details.
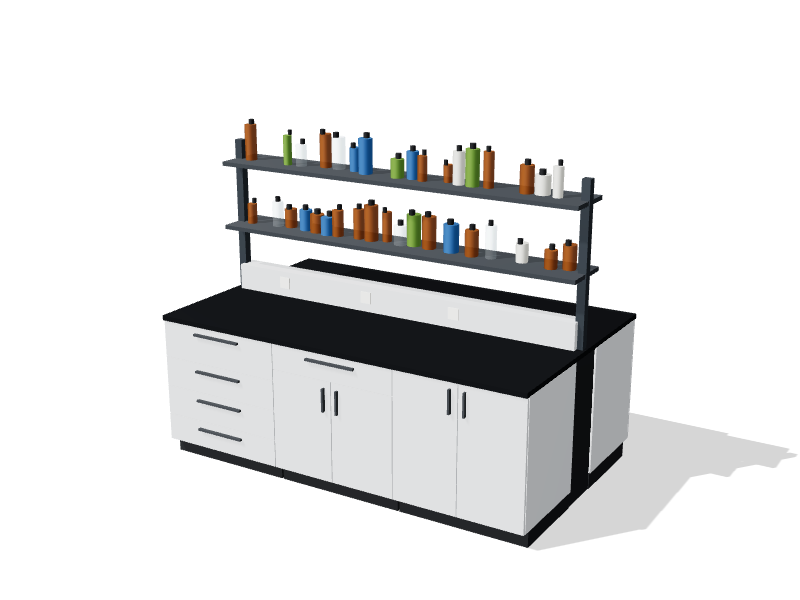
Island benches usually run services along a central spine between the two working faces, as on our island bench. Wall benches can take services in a chase along the back of the worktop.
Safety details that are easy to miss
- Backflow. A hose left in a flask or sink can siphon contaminated liquid back into the water supply if pressure drops. Any outlet that can take a hose needs a vacuum breaker or other backflow protection that the plumbing code accepts.
- Identification. Index buttons on fixture handles are colour-coded by service. A widely used convention marks compressed air orange, vacuum yellow and natural gas dark blue. Confirm the code on your drawings matches what your building already uses, and label outlets with the service name as well.
- Gas shut-off. Provide a manual shut-off valve for lab gas that people can reach quickly, commonly near the exit. Isolation valves for each bench run let maintenance work on one bench without shutting down the room.
- Electrical protection. The electrical code calls for ground-fault protection on receptacles near sinks in many situations. Keep receptacles out of the interior of fume hoods, and mount bench receptacles where spills will not run into them.
- Vacuum protection. Liquids and solvent vapours drawn into a central vacuum system damage pumps and contaminate the piping. Provide traps or filters at the point of use.
- Small drains. A cup sink next to water outlets takes condenser water and small rinses without walking to the main sink.
Planning the count
Start from the work, not from a standard bench. For each lab, ask users which services every position needs, which only some positions need, and what equipment will arrive in the next few years. Then think in repeating units, such as a set of services every 3 m (10 ft) of bench or per lab module. A modular pattern makes future moves much simpler.
Some practical rules:
- Plan spare capacity in the piping and electrical panels even if you do not install every outlet on day one.
- Group services so each user can reach water, gas, power and data from one spot.
- Place fixtures within reach of a seated user where seated work happens, with lever handles that are easy to operate.
- Coordinate with the mechanical and electrical engineers on pipe sizes, vacuum pump capacity, the purified water loop and electrical loads.
Questions to ask your supplier
- Which fixtures are included with the casework, and which are supplied by the plumbing contractor?
- Who mounts the fixtures, and who makes the final connections to building services?
- What finish is on the fixtures, and is it suitable for the chemicals in use?
- Are vacuum breakers or other backflow devices included on every hose outlet?
- Can the fixture colour code be matched to our existing standard?
- How are service chase panels removed for maintenance?
Final decisions on gas, plumbing and electrical arrangements rest with the engineer of record. To test service positions against a bench layout, book a consultation.