A good lab layout follows from the work done in it. Most layout problems, such as hoods beside the door, sinks far from the wet work, or nowhere to put the next instrument, come from drawing benches before the program and hazards are understood. The ten steps below put the decisions in a workable order. They apply equally to a single room and to a full floor.
Before you draw anything
Step 1: Define the program
Write down what the lab is for: which processes run here, how many people work at once and in which shifts, how samples arrive and leave, and what is expected to change over the next few years. Ask two or three users to walk you through a typical day. Their answers reveal sequences, such as weigh, dissolve, heat, filter and analyze, that the layout should follow without backtracking.
Step 2: Establish hazards and rules
List chemicals and expected quantities, biological agents, radioisotopes, lasers, compressed gases and cryogens. These set the rules: NFPA 45 and the National Fire Code of Canada for chemical quantities and lab fire protection, the Public Health Agency of Canada's Canadian Biosafety Standard for containment level, and CNSC licensing for radioisotopes. They affect room separation, ventilation, finishes and the number of hoods. Your EHS officer and code consultant confirm which requirements apply.
Step 3: Build the equipment list
For every item, record its footprint, height, weight, services (power, data, gases, water, drain, exhaust), heat output and any sensitivity to vibration or drafts. Include equipment expected in the next few years. This list becomes the equipment schedule and drives bench length, electrical capacity and cooling.
Place the fixed elements first
Step 4: Zone the room
Divide the room before placing furniture. A common pattern runs from low hazard near the door to higher hazard further in:
- Entry zone with a handwashing sink, coat hooks and, where allowed, write-up space.
- General bench zone in the middle.
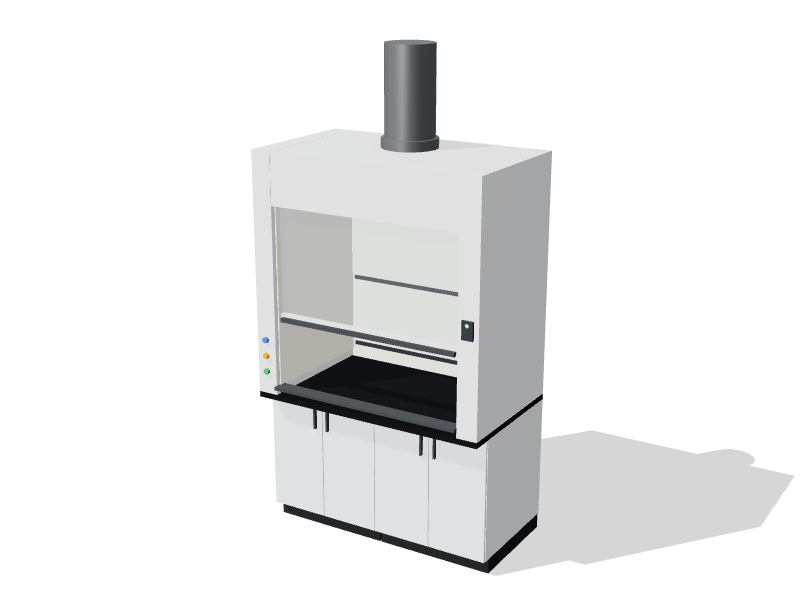
- Fume hoods and high-hazard work away from the door and main traffic.
- Wet work grouped near drains.
- Balances and vibration-sensitive instruments away from doors, hoods and heavy traffic. See balance tables and vibration control.
Step 5: Locate fixed elements
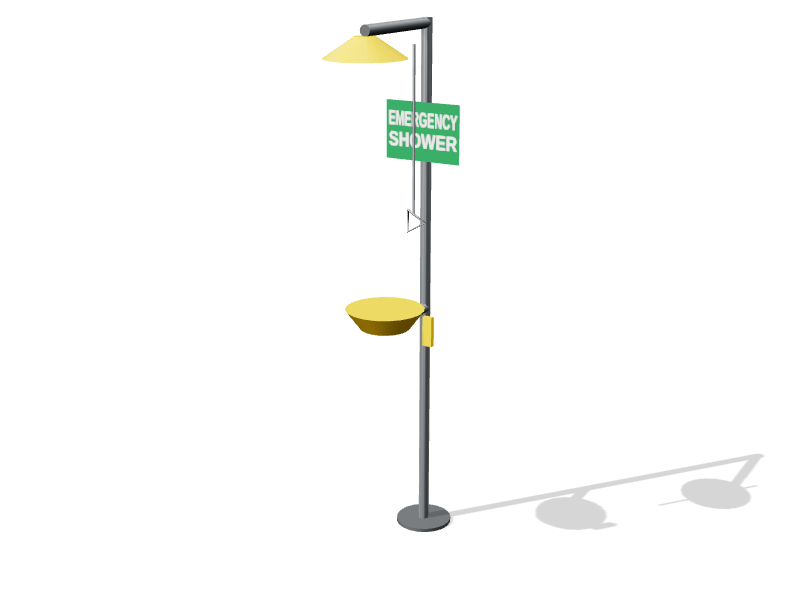
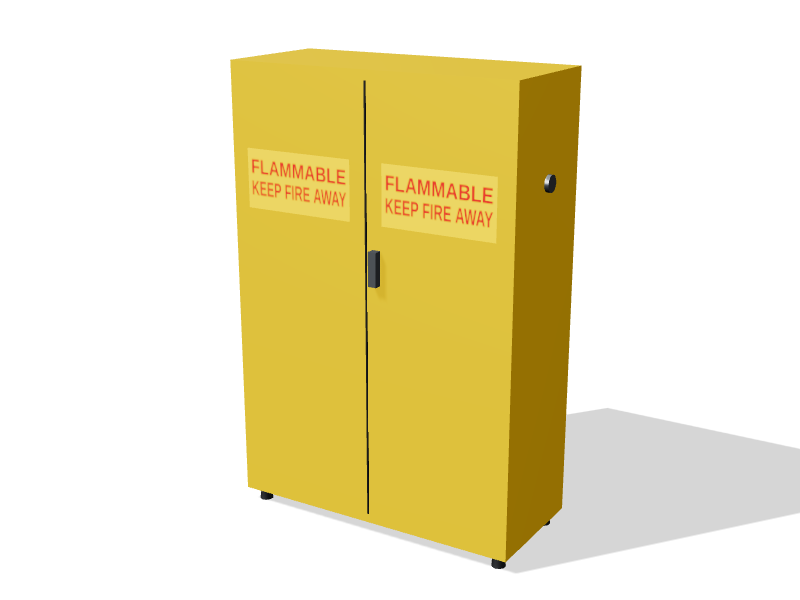
Place the items that are hardest to move: doors, columns, windows, exhaust risers and drain stacks, then fume hoods, sinks, the emergency shower and eyewash and flammable liquids cabinets. Hoods need exhaust routes and should sit out of traffic; the fume hood placement guide covers the details. Showers and eyewashes need an unobstructed route from every hazard.
Fill in benches, services and storage
Step 6: Arrange benches and aisles
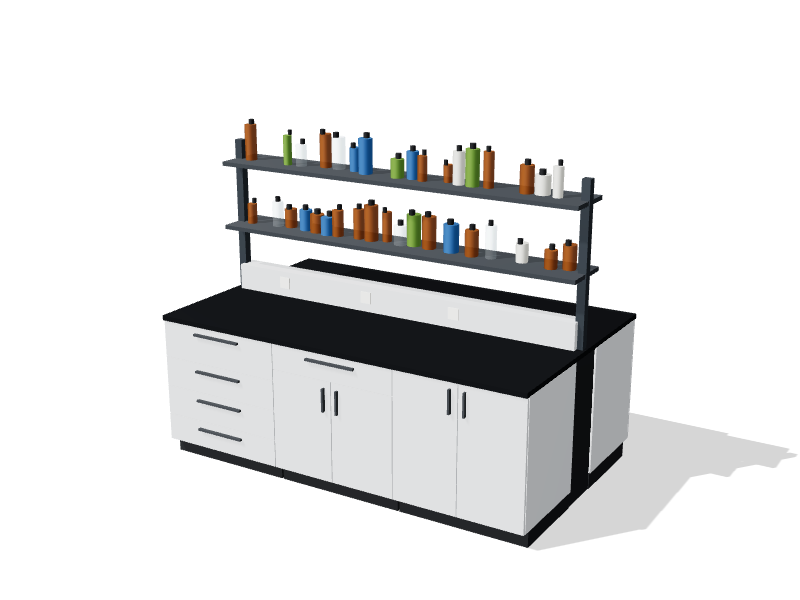
Choose the bench arrangement: wall benches, peninsulas, islands or a mix. Lay it out on a consistent lab module where you can. Size aisles for back-to-back work where both sides are used, typically 1500 mm (5 ft), and check every route to the exit.
Step 7: Map the services
For each bench position, list the services it needs. Group gas and vacuum outlets where they are used, give instruments dedicated circuits where required, and leave spare capacity for change. Decide whether services come from walls, floor or ceiling, and keep valves and junction boxes reachable for maintenance.
A simple service matrix makes this step manageable: one row per bench position or piece of equipment, one column per service, with quantities and any special requirements such as dedicated circuits, purified water or specialty gases. The matrix becomes the brief for the mechanical and electrical engineers, and it shows quickly where too many outlets crowd one stretch of bench while another has none.
Step 8: Plan storage
Storage is where layouts fail quietly. Allow for chemical storage by hazard class, consumables, glassware, waste collection points and compressed gas cylinders with restraints. Bulk stock usually belongs in a separate storeroom, with only working quantities in the lab.
Test the layout
Step 9: Review with the people who will use it
Walk users, EHS, facilities and the engineers through the plan. A 3D model helps non-specialists see the room; the lab planner lets you build and share a layout. For critical areas, tape the plan on the floor of an empty space and act out real tasks, including an emergency exit.
Step 10: Freeze and document
Record the agreed layout, equipment schedule and service matrix, and get sign-off. Changes after this point cost more, because they ripple through the mechanical, electrical and plumbing design.
Common layout mistakes
- Fume hoods beside the entry door or across a busy aisle.
- No handwashing sink near the exit.
- Emergency shower behind a door or blocked by storage.
- Balances next to a hood or a door that slams.
- Every bench full on day one, with no room for growth.
- Write-up desks deep inside the hazard zone.
- No space for waste containers, so they end up in the aisles.