People are the largest source of contamination in most cleanrooms, and the gowning room is where they are made fit to enter. A well-planned room makes the correct procedure the easy one: everything is within reach in the right order, the clean side stays clean, and nobody has to brush against a wall or step back across a line. A cramped or badly sequenced room produces shortcuts no SOP can fully prevent.
Let the gowning sequence shape the room
Start by writing down the gowning procedure your quality unit will use, step by step, and then place each step in the room. A common progression looks like this:
- Pre-gowning area outside the classified space: street coats, bags, jewellery and phones go into lockers, and staff change into facility clothing or put on dedicated shoes.
- First stage of the gowning room: head cover, beard cover and face mask, followed by hand hygiene at a hands-free sink.
- The cross-over line: staff sit on a bench, put on shoe covers or boots one foot at a time, and swing each foot over to the clean side.
- Clean side: coverall or gown, goggles where required, then gloves, checked in a full-length mirror.
- Entry to the cleanroom through an interlocked door, sometimes via an airlock or air shower.
Your actual sequence depends on the process and the governing standard. GMP Annex 1 expects changing rooms to be designed as airlocks, with the final stage the same grade, at rest, as the room it serves, and hand washing provided only in the first stage. USP <797> sets its own garbing order for compounding staff. The GMP grades guide and the compounding cleanroom guide cover those rules in more detail.
The cross-over bench and the clean side
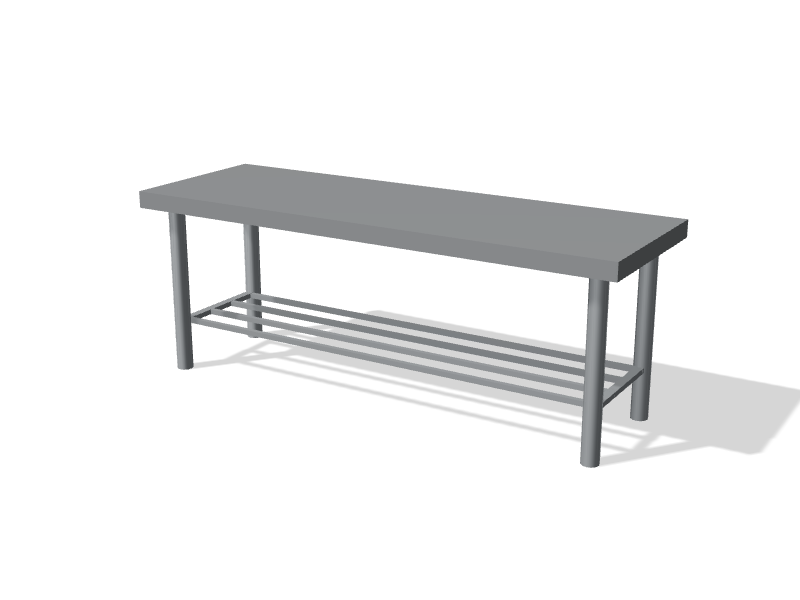
A cross-over bench makes the boundary between dirty and clean physical rather than notional. Staff sit to put on footwear and cannot walk across the line without stepping over the bench. Anchor it to the floor or wall so it does not drift, and size it so two people can use it at shift changes. Stainless construction with an open frame and shoe storage below keeps it cleanable.
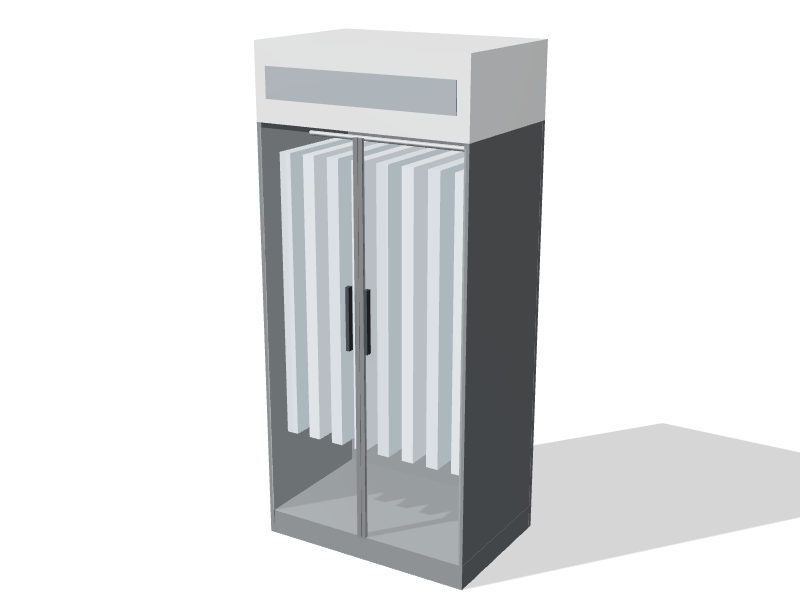
On the clean side, store garments so they stay clean until worn. A HEPA garment storage cabinet keeps packed or hung garments under filtered downflow. Dispensers for gloves, masks and hair covers should sit where they are needed in the sequence, mounted so they do not create ledges.
The sink
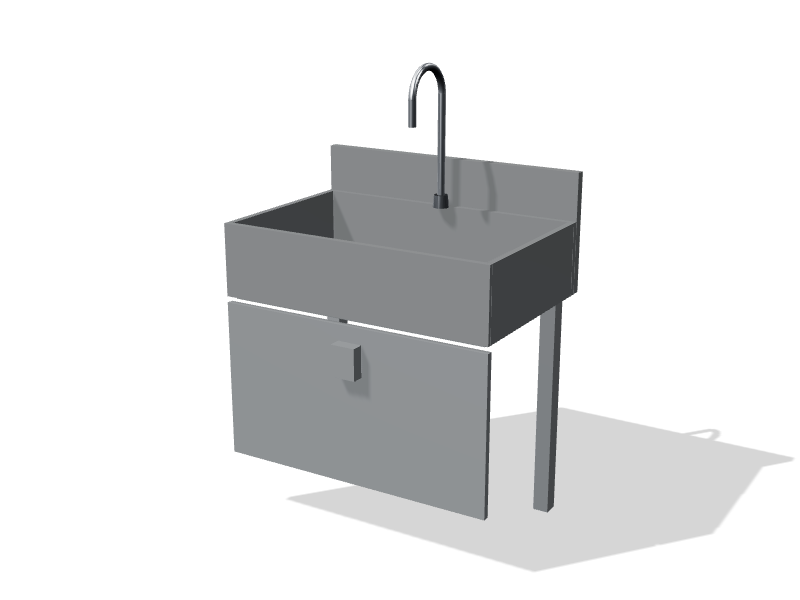
A hands-free scrub sink belongs in the first stage, on the dirty side of the line. Place it so splashing cannot reach clean garments or the bench, and provide hands-free drying. Annex 1 keeps sinks and drains out of grade A and B areas entirely, so a sink never belongs in the final stage of a grade B gowning sequence.
Layout, airflow and pressure
- Size for the peak. Plan for the number of people who gown at a shift change, not the average. Each person needs enough space to gown without touching walls or other people.
- Separate entry and exit. Higher-grade suites benefit from separate rooms or routes for entering and leaving, so used garments never cross clean supplies. Where one room serves both, separate the flows in time and give used garments a hamper near the exit door.
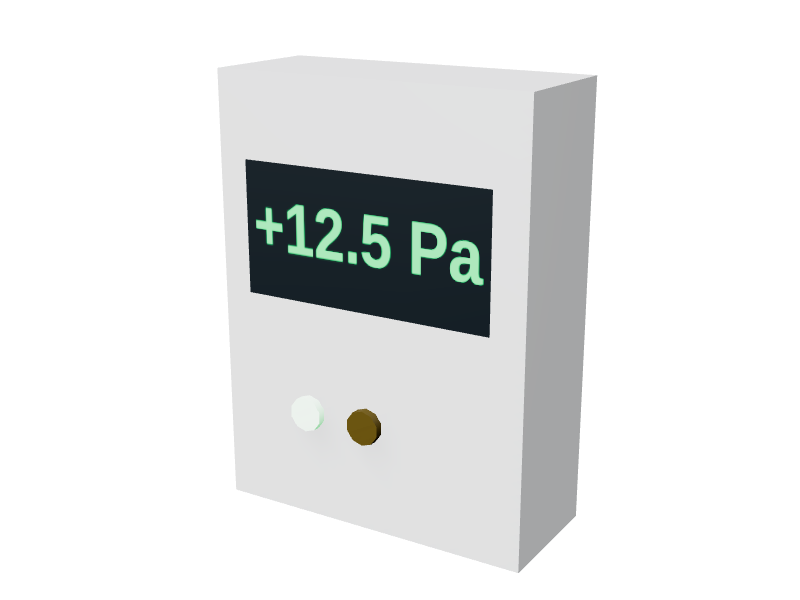
- Pressure. The gowning room sits in the middle of the cascade: lower than the cleanroom, higher than the corridor. A room pressure monitor at the inner door lets staff confirm the cascade before entering. See pressure cascades and airlocks.
- Airflow. Supply from the ceiling and return near the floor sweeps particles shed during gowning down and away. Keep low-wall returns clear of benches and lockers.
- Doors. Interlock the doors at each end so the room works as an airlock, and check that door swings do not hit the bench or the person gowning.
Common mistakes
- A room sized from the floor plan rather than from the number of people gowning at once.
- No place to sit when putting on boots, which leads to hopping and touching walls.
- Clean garments stored where they can be splashed or brushed by people still on the dirty side.
- Waste bins and laundry hampers placed where used garments cross the clean path.
- No full-length mirror, so gown faults go unseen.
- Procedure posters missing or out of date. A clear pictorial sequence at each stage reduces errors.
Planning checklist
- Write the gowning SOP first, then lay out the room around it.
- Mark the cross-over line with a fixed bench, and label the clean and dirty sides.
- Put the sink in the first stage with hands-free taps and drying.
- Store clean garments on the clean side, under filtered air where the class requires it.
- Plan for peak occupancy and separate entry and exit flows.
- Show pressure, interlocks and door swings on the same drawing.
You can place benches, garment cabinets and sinks in the lab planner to test the sequence before construction.