A lab module is the repeating unit of space that a lab building or lab floor is planned around. Benches, aisles, structure, ceiling grid, ductwork and service drops all line up with it. When every module carries the same basic infrastructure, a dry lab can become a wet lab, two small labs can become one large one, and a new hood can go in without rebuilding the floor.
What a module is
The lab module is defined by a width and a depth. The width is set by the benches and aisle that fit across it. The depth is set by bench length plus any zones at either end, such as hoods, equipment or write-up space.
A module is not a room. A small lab might be one module, a typical research lab two or three, and an open teaching or research floor many modules side by side with no partitions. Partitions, when needed, land on module lines so rooms can be combined or split later without moving services.
How the width is derived
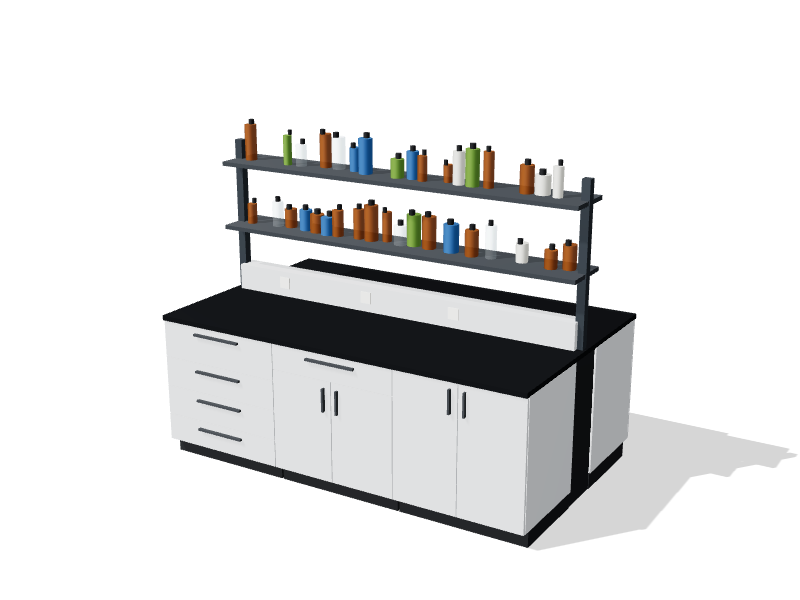
The width comes from adding up what sits across the module. In a common arrangement, each module line runs down the middle of a double-sided bench, so a module contains half a bench on each side and one aisle between them.
| Component | Typical dimension |
|---|---|
| Half of a double-sided bench | About 750 mm (30 in) |
| Working aisle | About 1500 mm (5 ft) |
| Half of the next double-sided bench | About 750 mm (30 in) |
| Service spine or partition allowance | Roughly 150 to 300 mm (6 to 12 in) |
| Total module width | Commonly about 3.2 to 3.4 m (10 ft 6 in to 11 ft) |
The arithmetic explains the familiar sizes. Bench, aisle and bench give 3.0 m (10 ft); a centre service spine or partition adds a little more. Published lab planning guidance often uses a 3.2 m (10 ft 6 in) module as its example, and many institutions settle somewhere between that and about 3.4 m (11 ft). A wider module buys a wider aisle, which helps where carts and back-to-back work share the space. A narrower one fits more bench length per floor but leaves less margin.
Depth, structure and services
Module depth often falls between about 6 and 9 m (20 and 30 ft). Deeper modules give longer bench runs and room for an equipment zone, but users walk further to the corridor and exit. Many layouts place hoods and equipment toward the corridor side, benches in the middle and write-up space at the window end, or keep write-up space outside the lab altogether.
Structure and services follow the grid:
- Columns. Structural bays are often sized to a whole number of modules, frequently two, so columns land on module lines rather than in the middle of an aisle.
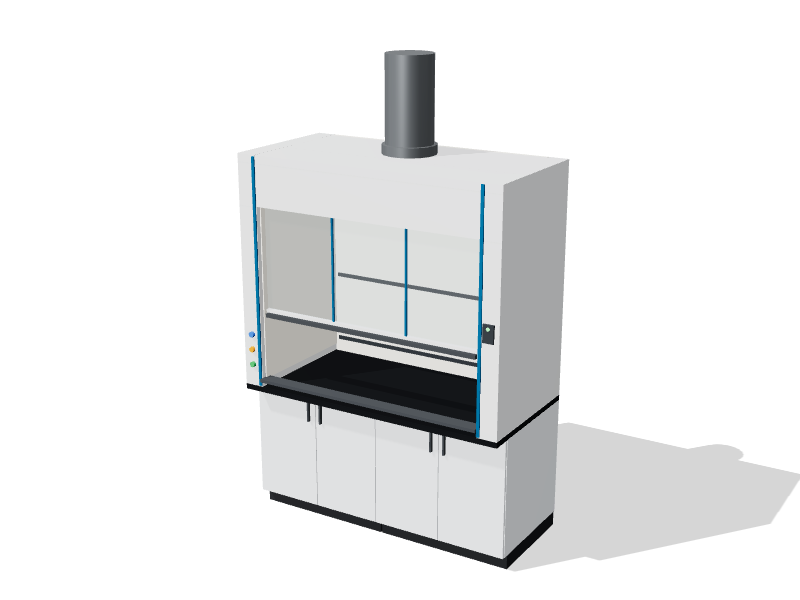
- Ventilation. Each module gets its own supply and exhaust branch. Exhaust risers and fan capacity are planned so that a module without a hood today can take one later, such as a high-performance low-flow hood.
- Piped services. Gas, vacuum, water and drains are stubbed to each module, usually from a corridor-side or central service zone.
- Power and data. Ceiling panels or overhead carriers at module spacing let benches be added or moved. This is what makes adaptable casework practical.
Using modules in an existing building
Renovations rarely start with a perfect grid. Column spacing, window mullions, floor-to-floor height and shaft locations are already fixed. Start by finding a module width that divides the existing column bay sensibly and still leaves the aisle widths your program needs. Accept that some areas will not fit: odd-sized spaces at the end of a floor make good equipment rooms, cold rooms, glass wash areas or storage.
Check window mullions too. Partitions that meet the middle of a window are expensive to detail and look awkward. If windows are on a fixed spacing, choose a module that lands partitions on mullions.
Ceiling space is often the real limit in older buildings. Lab exhaust, supply ducts and service piping take far more room than office services. Survey the ceiling before committing to more hoods or a denser module.
Planning tips
- Set the module early and keep to it; small exceptions multiply into irregular rooms.
- Put partitions, column lines and ceiling grids on module lines.
- Give every module the same basic services, even if some stay capped for now.
- Size exhaust risers and fans for future hoods, not just today's count.
- Keep sinks and hoods in predictable positions within each module so drains and ducts repeat.
- Draft one module in the lab planner and repeat it across the floor to see how the whole space works.
For help setting a grid for a new building or a renovation, our lab planning consulting service can review the options with your design team.