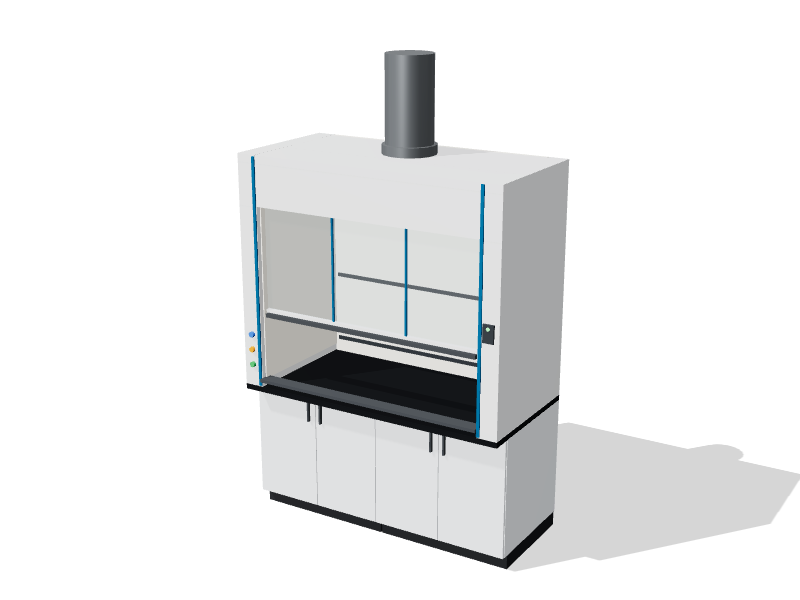
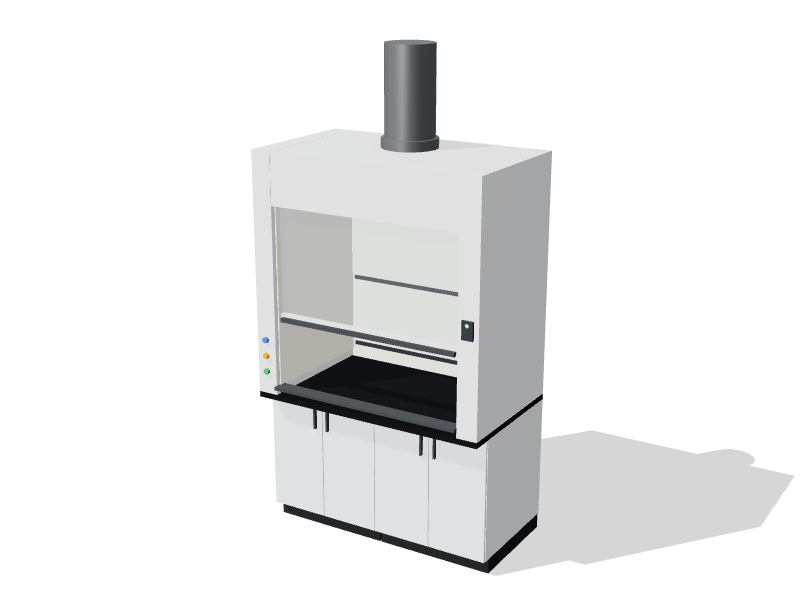
Every litre of air a fume hood exhausts has to be replaced. In most labs that replacement air arrives through ceiling diffusers and through the gap under the door. How it reaches the hood decides much of how well the hood contains. A cross draft is any air movement across the face of the hood rather than straight into it. Because the air entering a hood moves slowly, typically 0.4 to 0.5 m/s (80 to 100 fpm), modest room currents can overpower it at the edges of the opening and carry vapour back into the room.
Where cross drafts come from
Most cross drafts have ordinary causes:
- Supply diffusers: a ceiling diffuser discharges air at high velocity and relies on it slowing down before it reaches people. If the jet is still moving fast when it reaches the sash plane, it scrubs across the opening. Slot diffusers and four-way diffusers aimed toward a hood are frequent culprits.
- Doors and transfer air: labs run negative to the corridor, so air flows in through the door gap or a transfer grille. Opening the door turns that into a pulse that crosses the room.
- People: someone walking past a hood at normal pace moves faster than the air entering it, and the wake follows them.
- Equipment and fans: ovens and other hot equipment create rising plumes. Fan coil units, portable cooling fans and equipment exhaust fans blow air in unpredictable directions.
- Neighbouring devices: a biosafety cabinet or another hood close by competes for the same room air.
Designing the supply air
In a lab with several hoods, the hoods often set the room's total airflow, well above what cooling or air changes per hour alone would require. The supply design has to deliver that volume of makeup air quietly and at low velocity near the hoods. A few principles guide most good designs.
- Use more, gentler outlets. Several low-velocity perforated or radial diffusers spread the air better than a few high-velocity ones.
- Keep throw away from the hood. Locate diffusers so their jets have slowed well down before reaching the sash plane, and blank off any diffuser face that points at a hood.
- Set a target. A widely used guideline keeps cross-draft velocity at the hood opening below about half the face velocity. Many designers aim for 0.15 m/s (30 fpm) or less, and lower still for high-performance low-flow hoods, which run at reduced face velocity and have less margin.
- Place transfer air carefully. Put transfer grilles and door gaps on the opposite side of the room from the hoods where you can.
- Track variable volume. In a VAV lab, supply air must follow exhaust as sashes open and close. If the supply terminal reacts slowly or overshoots, the room can swing between too much and too little supply.
| Supply outlet | Behaviour near a hood | Notes |
|---|---|---|
| High-velocity slot or four-way ceiling diffuser | Long throw, jets can reach the sash plane | Avoid near hoods or blank the sides facing them |
| Perforated or radial ceiling diffuser | Lower velocity, spreads air in all directions | Common choice when sized for low outlet velocity |
| Low-velocity ceiling panel or fabric diffuser | Gentle, even downflow over a large area | Suits labs with very high air volumes; uses more ceiling area |
For labs with many hoods or unusual geometry, ask whether the designer will model the room with computational fluid dynamics (CFD). It is a design aid, not a substitute for testing, but it can catch a diffuser that blows straight at a sash before the ceiling is built.
Checking for cross drafts in an existing lab
Test the room as people actually use it: HVAC in its normal mode, doors operating, and the sash at its working height.
- Release smoke at the edges of the opening and along the sill. Smoke that rolls out at a corner, or that drifts sideways before entering, points to a cross draft.
- Measure air velocity just in front of the opening with an omnidirectional thermal anemometer. Take readings at several points and repeat with the door opening and closing.
- Walk past the hood at normal pace while someone watches the smoke at the sash.
- Review the as-installed test. An ASHRAE 110 test run in the room captures room effects that a factory test cannot.
Users often report the symptoms first: odours when the door opens, a monitor that alarms at certain times of day, or one hood that never seems as good as its neighbours.
Fixes that usually work
- Redirect, blank or relocate the diffuser nearest the hood, or replace it with a lower-velocity type.
- Add diffusers so each one delivers less air at lower velocity.
- Move transfer grilles away from the hood, or add a door closer so the door does not hang open.
- Remove portable fans and relocate heat-producing equipment.
- Keep the sash lowered during work. A smaller opening exposes less of the work zone to room air.
Raising the face velocity is rarely the cure. Above roughly 0.6 m/s (120 fpm), air entering the hood can form eddies around the user's body that work against containment, and the extra exhaust costs energy all year.
Questions to ask your mechanical engineer
- What air velocity does each nearby diffuser deliver at the hood face?
- Where does transfer air enter the lab, and how far is it from the hoods?
- How quickly does the supply terminal track changes in hood exhaust?
- Will the room be modelled before the ceiling layout is fixed?
- Will as-installed hood tests be run with the room in normal operation, doors included?
If you are laying out a new lab, settle hood and diffuser positions together. A consultation at the schematic stage costs far less than moving ductwork later.