Every hole through a cleanroom wall, ceiling or floor is a leak path for air and a crevice to clean. Power, data, piping, sprinklers, sensors and ducts all need them, and even a small suite can have dozens. Individually they look trivial. Together they decide whether the room holds its pressure cascade with a modest air offset, and whether inspectors find gaps around the services on their first walk-through.
Where penetrations come from
Make a full list before design is complete. The usual sources are:
- Electrical: receptacles, switches, data outlets, fixture feeds, fan filter unit power and control cabling.
- Process utilities: compressed air, nitrogen and specialty gases, vacuum, purified water, and drains.
- Fire and life safety: sprinkler heads, smoke detectors, speakers and strobes.
- HVAC and monitoring: supply terminals, return grilles, pressure sensing tubes, temperature and humidity sensors, particle counter sample lines.
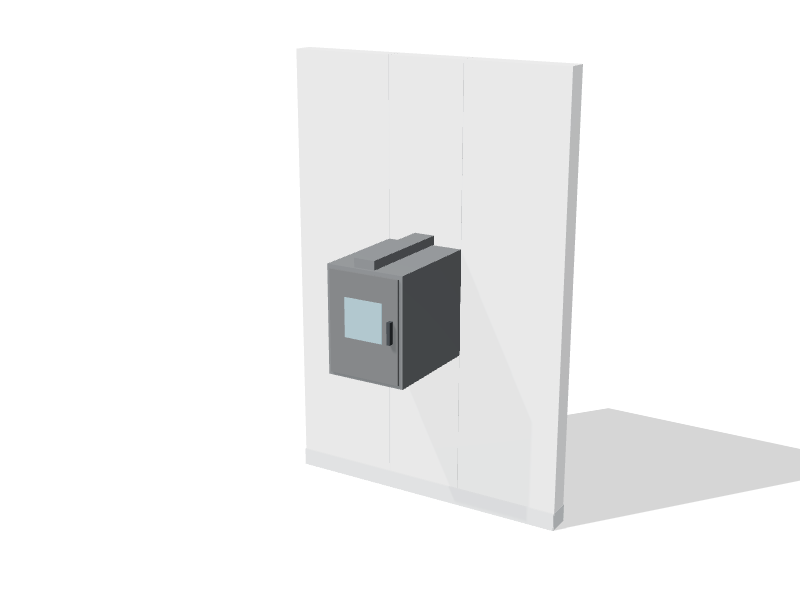
- Equipment: pass-through chambers, through-wall autoclaves, isolators and anything else that bridges two rooms.
Each item needs a location, a size and a sealing detail on a coordination drawing. Penetrations added in the field without a detail are the ones that leak.
Sealing principles
Route services inside the envelope
Modular panel walls can carry conduit and tubing inside the panel or in a service chase behind it, so services emerge only where they are used, through factory-made, gasketed outlets. This cuts the number of penetrations through the clean face and keeps exposed piping off the walls. Ceiling drops and utility columns serve island benches better than floor boxes, which are hard to seal and clean.
Seal the gap and the inside
Sealing around a conduit stops air leaking around it, but air also travels through the conduit itself, from the plenum or an adjacent room. Seal conduit ends at the cleanroom boundary with sealing fittings or compound. Do the same for cable trays and sleeves.
Use the right sealant
Use a sealant compatible with your disinfectants and sporicides, applied as a smooth, continuous bead with no voids. Electronics, optics and some coating processes avoid silicone sealants because silicone can migrate and contaminate surfaces; the electronics cleanroom overview covers this. Stainless escutcheons and gasketed cover plates give a cleaner, more durable finish than sealant alone.
Fire separations are different
A penetration through a fire-rated wall or floor needs a tested firestop system to maintain the separation under the National Building Code. Cleanroom sealant is not a firestop. Choose firestop products that also leave a smooth, cleanable surface, and coordinate both requirements on the same detail.
Sprinklers and ceiling devices
Concealed or recessed sprinkler heads with flush cover plates suit cleanroom ceilings. The seal around the head must not interfere with its operation, and the fire protection designer must approve the arrangement. Smoke detectors, speakers and lights need the same attention; see cleanroom lighting for fixture sealing.
Outlets and utilities inside the room
- Mount receptacles, switches and gas outlets flush in the wall, not in surface boxes that create ledges.
- Group gas and data outlets on a single flush service panel to reduce the number of separate penetrations.
- Use stainless or gasketed plastic cover plates that tolerate your cleaning agents, and gasketed covers in washdown areas.
- Engrave or permanently mark labels rather than using stickers that lift and collect dirt.
- Pull spare conduits and sleeves now, capped and sealed, so future services do not mean drilling into a working cleanroom.
The lab service fixtures guide covers outlet types for general lab benches.
Testing and maintaining the seals
- Inspect before closing up. Check every penetration before ceiling tiles and wall panels close it from view.
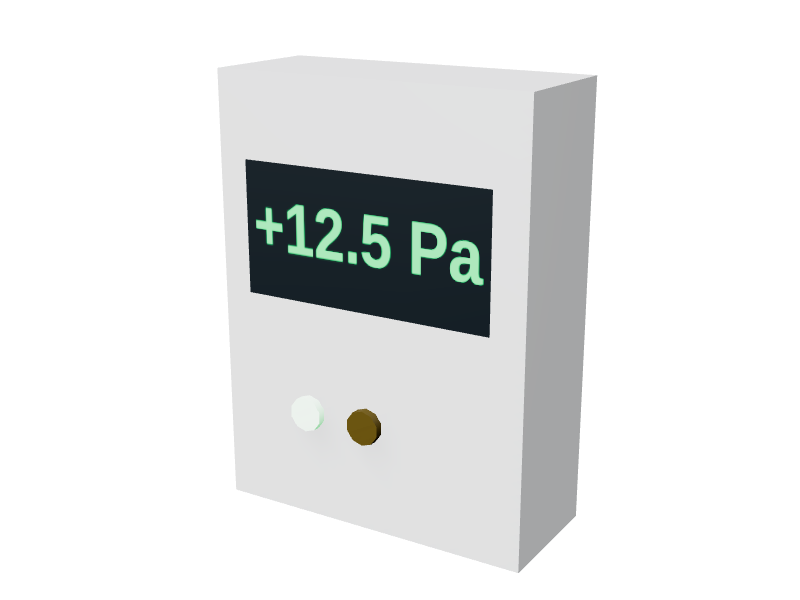
- Test under pressure. With the room pressurized, a smoke pencil at each penetration shows leaks immediately. Room leakage and pressure tests during commissioning confirm the overall result. See certification and monitoring.
- Control later work. Any new penetration needs a permit, a detail, dust control during the work, a clean afterward and a pressure check. A single unsealed hole can unbalance the pressure cascade.
- Reinspect periodically. Sealants shrink, crack and degrade with repeated disinfection. Include penetrations in routine facility inspections.
Checklist
- Every penetration is listed, located and detailed on a coordination drawing.
- Conduits are sealed inside as well as around.
- Sealants are compatible with your disinfectants and, where needed, silicone-free.
- Rated separations use tested firestop systems.
- Spare sleeves are installed and sealed for future services.
- Smoke checks at penetrations are part of commissioning.
Our installation and project management team coordinates trades so penetrations are sealed right the first time.